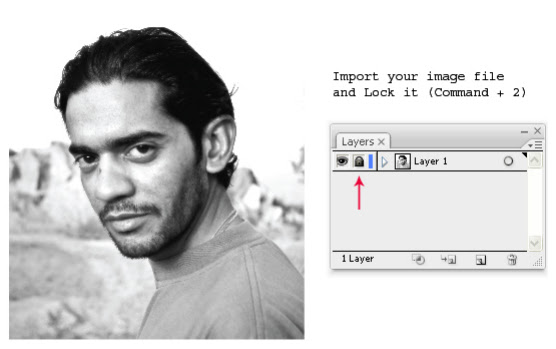
Create a new document and click on File > Place. Select your image/photograph and hit Place to import the image on stage. (Unchecked the Link box if you want to retain the image file permanently in your document). Next, select the image and lock it using Command + 2. Step 2 Depending on the complexity of your image, decide on the number of shades that are forming the image. Here, I’ve defined three different shades. i.e. blank for the brightest parts, single lines for medium shade, and intersecting lines for the darkest shade. You may further play with the number of lines to define different shades. > Step 3 Grab the Line Segment Tool (\) from Tools pallet and draw a horizontal line of width approximately larger than your image. Place it on the top most part of your traceable area and stroke it with any contrasting color. Step 4 Select the line and click on Object > Transform > Transform Each (Alt + Shift + Command + D). Enter -10px for Vertical Move and...